






How to maintain and troubleshoot LED laser stage lighting systems?
How to maintain and troubleshoot LED laser stage lighting systems?
Practical, technician-grade guidance: this article condenses proven maintenance schedules, diagnostic checklists, and safety-first troubleshooting for LED-laser stage fixtures to reduce downtime, extend service life, and ensure compliance with IEC laser-safety and industry control standards.
Introduction: LED-laser hybrids and diode-based laser fixtures are now common in touring and fixed installations. They combine high-brightness diode sources, precision optics, and active electronics; these subsystems require distinct, repeatable maintenance and fault-isolation procedures. Below we provide concise, technician-level practices you can implement immediately, plus standards and measurements to validate repairs.
Frequently Asked Questions
This FAQ section has been extracted for programmatic delivery; for the full Q&A, see the FAQ extraction attached to this article. The guidance below and the downloadable checklist on the Uplus Lighting site are written for stage technicians, maintenance managers, and rental houses seeking repeatable uptime improvements.
Conclusion: Uplus Lighting brings 15+ years of applied field experience across touring, theatre, and permanent installs, combining OEM-level diagnostics with practical shop-floor procedures. Our recommendations prioritize measurable verification (optical power meters, thermal imaging, oscilloscope traces, DMX analyzers) and compliance (IEC 60825 laser safety, DMX512 signal norms) to reduce misdiagnosis, unnecessary part-swaps, and unsafe practices. We routinely convert those methods into maintenance schedules, checklists, and tailored service contracts for production providers and venues.
For a tailored maintenance plan or troubleshooting quote, contact Uplus Lighting at www.upluslighting.com or albee@upluslighting.com.
Frequently Asked Questions
How often should I clean LED laser stage lighting optics?
Frequency depends on venue environment: inspect optics every 50–100 operational hours in dusty or smoky conditions and every 200–400 hours in clean venues. Use optical-grade, lint-free wipes and isopropyl alcohol >90% or manufacturer-recommended cleaning fluid; avoid ammonia-based cleaners. For sealed scanners and sealed projector modules, clean external apertures only and follow manufacturer ingress-protection guidelines. Verify cleaning effectiveness with a beam uniformity check: measure spot shape and power before and after cleaning using a compact laser power meter; any >5–10% drop indicates contaminant or coating damage that requires optical bench evaluation.
What are common diode and driver failure modes in fixtures?
Typical failures fall into three classes: diode degradation, driver/electronics faults, and passive thermal-related failures. Diode issues show as wavelength shifts, reduced output (measured as optical power loss or color imbalance), or single-color dropout—confirm with a power meter and spectral check if possible. Driver failures present as flicker, PWM anomalies, or complete loss of channel output; inspect DC supply rails for ripple and check electrolytic capacitors (bulging, ESR rise). Passive failures include solder joint cracks from thermal cycling and connector micro-arcing. Use an oscilloscope on the LED driver outputs to confirm PWM waveform integrity and a capacitance/ESR meter on suspect capacitors before replacing components.
How do I calibrate beam alignment and safety interlocks onsite?
Start with mechanical alignment: secure the fixture in its normal operating orientation to avoid gravity-induced drift. Use an alignment target and low-power test mode to center the beam; lock all focus and collimation set screws to specified torque values. Verify safety interlocks (key switches, e-stops, interlock circuits) using a continuity test and simulated triggers; ensure software flags match hardware state. For laser-class fixtures, confirm beam containment and accessible emission indicators per IEC 60825-1; document interlock test results. Re-check alignment after a 30–60 minute warm-up to detect thermal shift.
Which firmware and DMX diagnostic steps identify signal issues?
Always confirm firmware version against the vendor’s release notes—apply updates only when they address known faults and after backing up device settings. For DMX troubleshooting, verify physical layer first: correct cable type, pinout (5-pin recommended), and a 120-ohm termination at the end of the chain. Use a DMX tester or analyzer to confirm break conditions, start/stop bits, and packet timing (DMX512 operates at 250 kbps). For RDM-enabled fixtures, use an RDM controller to read device status and parameter values remotely; RDM responses can reveal addressing conflicts or firmware mismatches. Ground loops and common-mode noise often produce intermittent errors—test by isolating the signal ground and using an optoisolated DMX interface if issues persist.
What preventive maintenance schedule extends LED laser lifespan effectively?
Adopt a risk-based maintenance schedule: critical touring units—monthly visual and functional checks, optics clean every 50–100 hours, full bench inspection every 1,000–1,500 hours; fixed-install units—quarterly visual checks, optics clean 200–400 hours, bench inspection annually. Track cumulative run-hours and thermal cycles; replace consumables (filters, fans, thermal interface materials) proactively—fans typically at 10–20k hours depending on load. Monitor lumen/optical output and log L70 estimates per LED module spec sheets; plan module or diode replacement when drive current adjustments exceed safe margins or when output drops approach manufacturer’s L70 threshold.
How to safely troubleshoot overheating and thermal shutdown problems?
First, verify ambient conditions: fixtures rated for a specific ambient (e.g., 40°C) will derate above that. Inspect heatsinks for dust, ensure airflow paths are unobstructed, and confirm fan operation and direction—use a shop vac on low to clear fins, avoid compressed-air blasts that embed dust. Measure case and junction-proxy temperatures with an IR camera and compare against published junction-temperature (Tj) limits; excessive Tj indicates thermal interface or cooling subsystem failure. Check thermal switch thresholds and reflow solder joints for heat-related cracks. If thermal shutdown persists after cleaning, verify driver current setpoints and thermistor readings in the control menu; replace failed fans or re-apply high-performance thermal interface compound as needed. Always lock out power and discharge capacitors before opening fixtures, and follow laser safety procedures (disable emission and wear appropriate PPE) when accessing optical/diodic components.


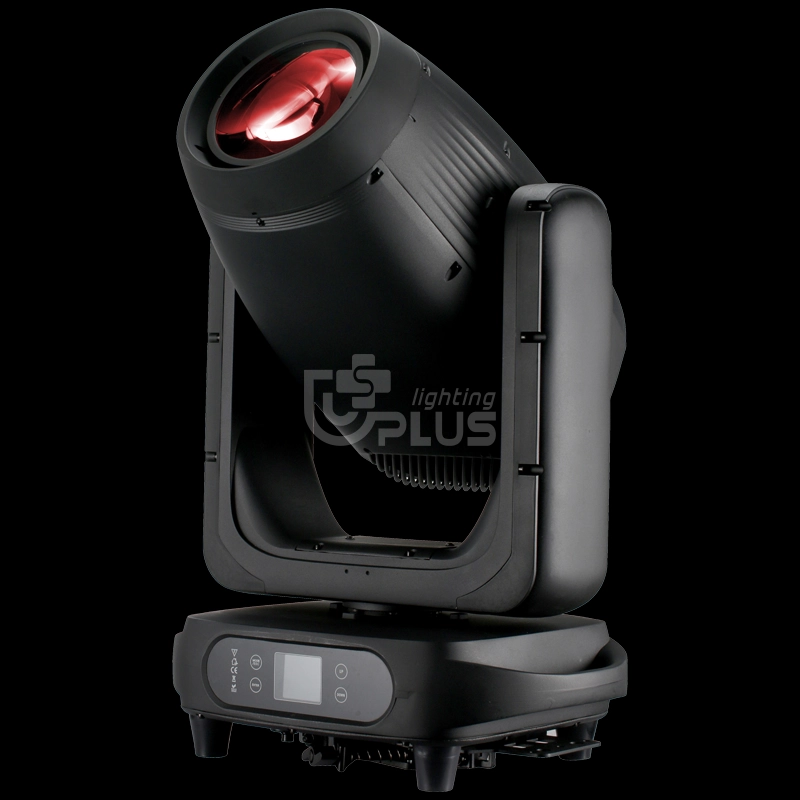
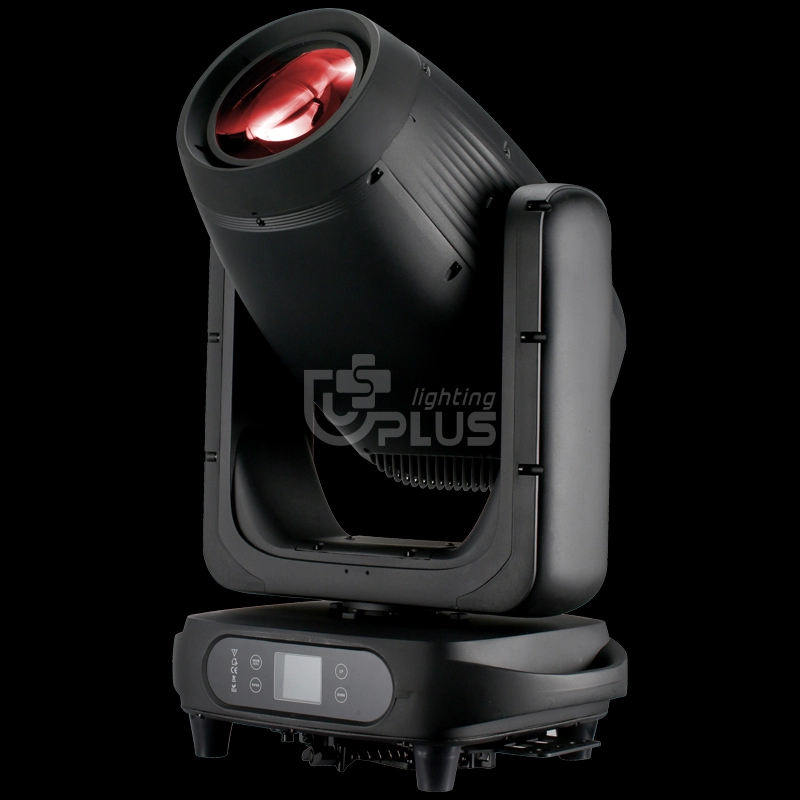
1000W Waterproof BSWF 4-in-1 Moving Head combines beam, spot, wash, and frame effects in one. IP-rated waterproof design, high-brightness output, precise control, ideal for outdoor & indoor stage events.
Stay updated on our latest news
If you have any comments or good suggestions, please leave us a message, later our professional staff will contact you as soon as possible.
Lighting Innovators
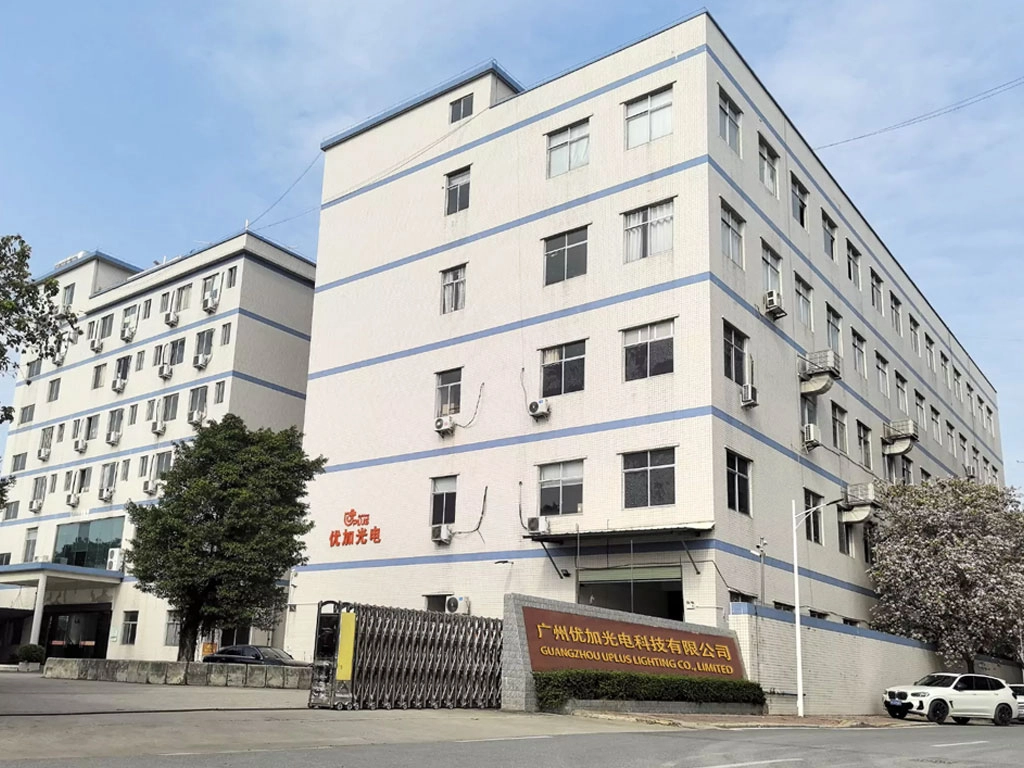
Uplus Lighting is a leading integrated company specializing in R&D, design, production, and sales of stage lighting solutions.
 Scan QR Code
Facebook
Instagram
YouTube
VK